Origami box
In Japan, often the wrapping of a present is at least as important as the real present. If you have to give away some small things - like a Porsche car key or some jewellery - present it in a origami box.
The introduction below is derived from the explanation here. But the original explanation produces a box with a fold on the main surface which isn't beautiful (see last picture). Therefore, I have corrected the first steps.
A square of 25.7 cm produces a box of 9 cm. That will be the cover of the box.
For the real box, you will need a square of 25.2 cm.
So, here it goes (click on a picture to see a slideshow with larger pictures):
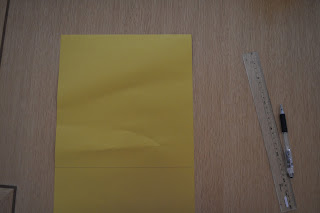 1) I bought some carton-like paper at Daiso (transported it in a rucksack, big blunder).
The smaller side is 25.7 cm.
Cutting it into a square.
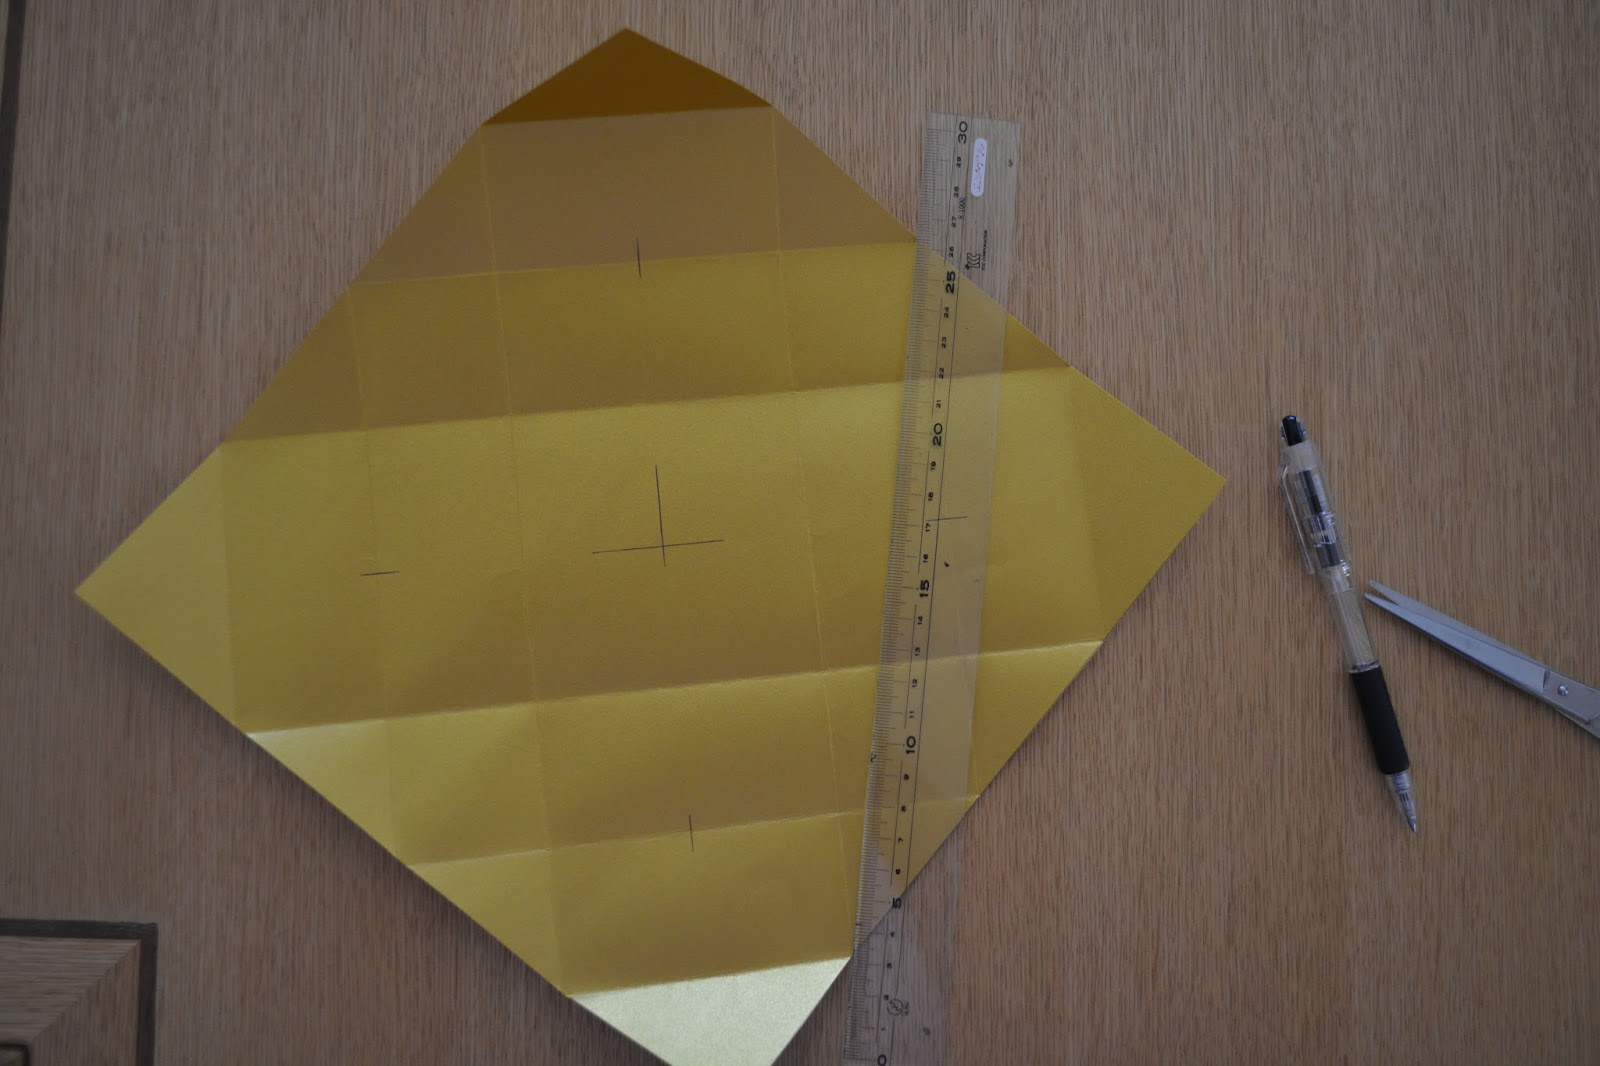
 2) Draw a large cross in the center.
 3) Fold two corners towards the center (exactly !!)
 4) Extend the lines of the cross towards the fold.
 5) Now fold each corner towards the new cross (line-fold).
 6) Now fold each corner towards the second new cross (line-fold).
 7) Turn the paper and repeat steps 3-6
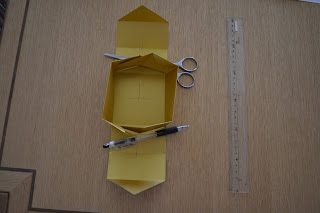
 8) Cut twice two squares on opposite corners. I inserted the scissors, so you can see, up to where.
 9) Now fold the uncut corners towards the middle. You get the walls of the box.
 10) Fold the remaining into the box, stabilizing the box. If you want, you fix it with glue. But if you folded correctly, no glue is necessary.
 11) Here you see that I didn't fold well on one side.
 12) Here starts the second part of the box, 0.5 cm smaller than the cover.
 13) Follow step 2-11, produces a second smaller box.
 14) Together it makes a beautiful box.
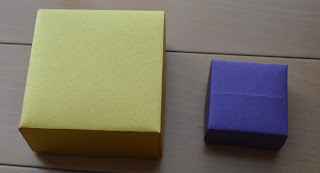 Here can you see why I chose to change the original folding method -
which produces a box as shown on the right side.
Happy folding !!
The introduction below is derived from the explanation here. But the original explanation produces a box with a fold on the main surface which isn't beautiful (see last picture). Therefore, I have corrected the first steps.
A square of 25.7 cm produces a box of 9 cm. That will be the cover of the box.
For the real box, you will need a square of 25.2 cm.
So, here it goes (click on a picture to see a slideshow with larger pictures):

The smaller side is 25.7 cm.
Cutting it into a square.


which produces a box as shown on the right side.
Happy folding !!


Comments
Post a Comment